Getting started
When it comes to discord.http, it is not like the usual websocket bots.
This library is only for the HTTP POST requests sent by the Discord API.
You can of course use this library to do normal Discord actions, however you do not have some familiar intents, like:
Able to see the guilds the bot is in
Knowing then the bot joins/leaves a server
Status changes to people or bots
Essentially, no intents are available, however there are some you do get, which are:
Whenever a slash command is used
When someone clicks a button, selects in menu, etc
When someone has submitted a modal
Requirements
Python
First of all you need Python to be installed, you can get python here. We recommend that you use Python 3.11 or higher, lower versions may not work.
After that, you need to install the library, you can do so by using pip install discord.http in the terminal.
Note
Some systems might have pip3 instead of pip, if that is the case,
use pip3 install discord.http instead. In some rare cases if that does not work,
try python -m pip install discord.http or python3 -m pip install discord.http.
Discord bot
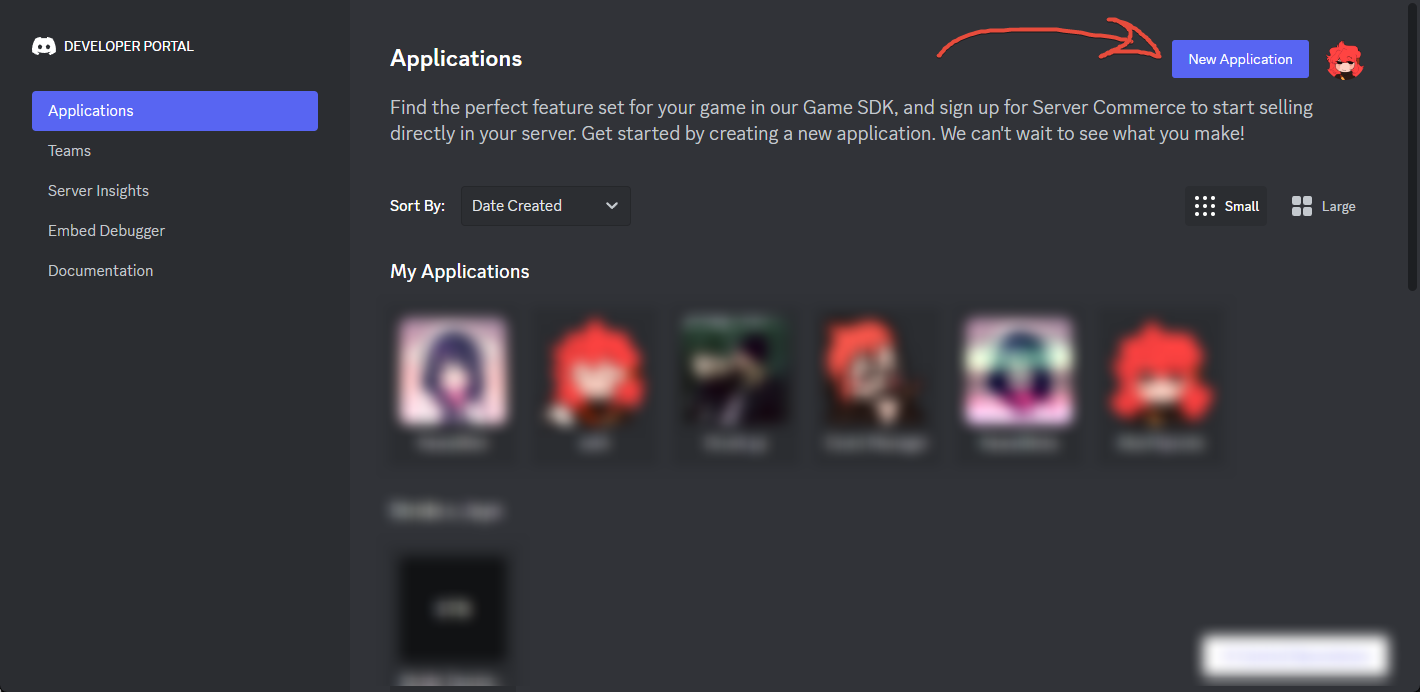
If you do not have a bot already on Discord, next step is to create one. (Can also use an existing bot if you have one) You can do so by going to the Discord developer page.
After that, you will need the following information from the bot page:
Application ID
Public key
Token
Note
Make sure you copy the application ID, not the client ID. There is a difference between the two, notably when it comes to older bots that have two different IDs.
To invite the bot to your or other servers, you will need something called an OAuth2 URL. Creating one for your own bot can be done by using this URL:
https://discord.com/oauth2/authorize?client_id=APPLICATION_ID&scope=bot+applications.commands
The bot will appear to be “offline” whenever you have it on your server and when you are running the bot. This is due to the fact that the bot is not using the websocket, which is what makes the bot appear online. However you are able to use the bot as normal, and it will respond to slash commands and other interactions.
Note
Make sure to replace APPLICATION_ID with the actual application ID of your bot.
HTTP Server
Depending on the approach you take, there are multiple ways to host the HTTP server. For local testing, you can use ngrok, which is a tool that allows you to expose your local server to the internet.
Planning to host this in a server on production scale? You can use Apache2 or NGINX. For beginners, Apache2 is a nice way to get introduced to hosting, however we recommend using NGINX due to its performance overall and its ability to handle more requests.
Quick example
After installing everything, you can make a very simple /ping bot with the following code:
from discord_http import Context, Client

client = Client(
    token="Your bot token here",
    application_id="Bot application ID",
    public_key="Bot public key",
    sync=True
)

@client.command()
async def ping(ctx: Context):
    """ A simple ping command """
    return ctx.response.send_message("Pong!")

client.start()
By default, the library will be hosting on 127.0.0.1 to prevent external access
while using the port 8080. You’re free to change it to your liking, but be careful
if you choose to use 0.0.0.0 and only use it if you know what you are doing.
If you wish to change the default behaviour, you can do so by using the host and port parameters in the Client.start()
client.start(
    host="127.0.0.1",
    port=8080
)
Note
127.0.0.1 is the same as localhost, so only you can access it locally or through a reverse proxy.
0.0.0.0 means that you wish to broadcast the HTTP server to the internet, which is not recommended if you are not using a reverse proxy.
After booting up your bot, next step will be to register the chosen URL in to your bot’s application page. Inside the bot configuration page, you will see a section called “Interactions Endpoint URL”, paste your URL there and save the settings.
The URL you past in there is the root URL, there’s no need to add /interactions or similar to the end of it.
So if your domain is example.com, you put that inside the bot’s interaction URL setting.

Note
If the page refuses to save, it means that your bot is not exposed to the correct URL. Discord attempts to ping with the URL you provided, and if it fails, it will not save.
If the Discord developer page saved successfully, you should see your bot printed an [ INFO ] message
telling what has happened. This simply means that you did it all correctly and can now start using the bot.
After all these steps, you should see the following in your terminal:

This what the [ INFO ] messages mean:
Telling you where the bot is broadcasting to, when it comes to the host and port.
Showing if the bot has successfully synced commands with Discord API (it will not show if you have syncing disabled).
Showing that the bot is now ready to receive interactions from Discord API.
Confirming that the URL you provided in the bot’s application page is correct, working and Discord API can reach it.
3rd-party tools
hypercorn
If you’re aiming to enhance your bot’s scalability with asynchronous capabilities, consider employing hypercorn.
Given that this library aligns with the asynchronous nature of Quart, much like Flask, hypercorn becomes a suitable choice.
Note
Gunicorn is not recommended for use with this library, as it is not asynchronous and will not work with Quart. Hypercorn is essentially the asynchronous version of Gunicorn, and is the recommended choice for this library.
To apply this to the provided bot code example, initiate the process with the following command:
hypercorn filename:client.backend
Ensure to replace filename with the actual name of your root file, such as main.py, bot.py, or a similar identifier.
In these cases, you would utilize hypercorn main:client.backend and hypercorn bot:client.backend respectively.
Hosting examples
ngrok
This is the most simple approach to hosting a HTTP server, however if you plan to use this as a hosting method for production, you will need to upgrade to their paid plan to get a static URL with no limits.
However for local testing, you can use the free plan, which will give you a randomly generated URL. You can get ngrok here and follow the instructions on their website.
After downloading it, you need to open a new terminal and run the command ngrok http 8080.
Keep in mind that the bot has to also run on port 8080, otherwise you will need to change
the port in the command mentioned earlier.
NGINX
# You need to replace example.com with your own domain of choice
# or remove it if you plan to use IP like http://123.123.123.123 (not recommended)

# You will also need to change the proxy_pass to whatever local address and port you are using

# HTTPS Example
server {
  listen 443 ssl http2;
  listen [::]:443 ssl http2;
  server_name example.com;

  location / {
    proxy_set_header X-Forwarded-For $proxy_add_x_forwarded_for;
    proxy_set_header Host $http_host;
    proxy_set_header X-Forwarded-Proto https;
    proxy_redirect off;
    proxy_pass http://localhost:8080;
    proxy_http_version 1.1;
  }

  ssl on;
  ssl_verify_client on;
}

# HTTP Example
server {
  listen 80;
  listen [::]:80;
  server_name example.com;

  location / {
    proxy_set_header X-Forwarded-For $proxy_add_x_forwarded_for;
    proxy_set_header Host $http_host;
    proxy_set_header X-Forwarded-Proto https;
    proxy_redirect off;
    proxy_pass http://localhost:8080;
    proxy_http_version 1.1;
  }
}
Apache2
# You need to replace example.com with your own domain of choice
# or remove it if you plan to use IP like http://123.123.123.123 (not recommended)

# You will also need to change both ProxyPass and ProxyPassReverse
# to whatever local address and port you are using

# HTTPS Example
<VirtualHost *:443>
    ServerName example.com

    SSLEngine on
    SSLVerifyClient require

    SSLProxyEngine on
    SSLProxyVerify require
    SSLProxyCheckPeerCN on
    SSLProxyCheckPeerName on
    SSLProxyCheckPeerExpire on

    ProxyPass / http://localhost:8080/
    ProxyPassReverse / http://localhost:8080/

    <Proxy *>
        Order deny,allow
        Allow from all
    </Proxy>

    RequestHeader set X-Forwarded-Proto "https"
    RequestHeader set X-Forwarded-For "%{X-Forwarded-For}e"
    RequestHeader set Host "%{Host}i"

</VirtualHost>

# HTTP Example
<VirtualHost *:80>
    ServerName example.com

    ProxyPass / http://localhost:8080/
    ProxyPassReverse / http://localhost:8080/

    <Proxy *>
        Order deny,allow
        Allow from all
    </Proxy>

    RequestHeader set X-Forwarded-Proto "https"
    RequestHeader set X-Forwarded-For "%{X-Forwarded-For}e"
    RequestHeader set Host "%{Host}i"

</VirtualHost>